Blog
How to Paint Bathroom Vanity Cabinets
Painting bathroom vanity cabinets is one of the most effective ways to update a bathroom without committing to a full renovation. The process is straightforward, but the outcome depends heavily on material choices, surface preparation, and patience.
When done correctly, painted vanity cabinets can look factory-finished and withstand daily moisture, cleaning, and use.
Many people confuse cabinet painting with standard wall painting. The two are not the same. Cabinets require tougher coatings, better adhesion, and longer cure times to perform well in a bathroom environment.
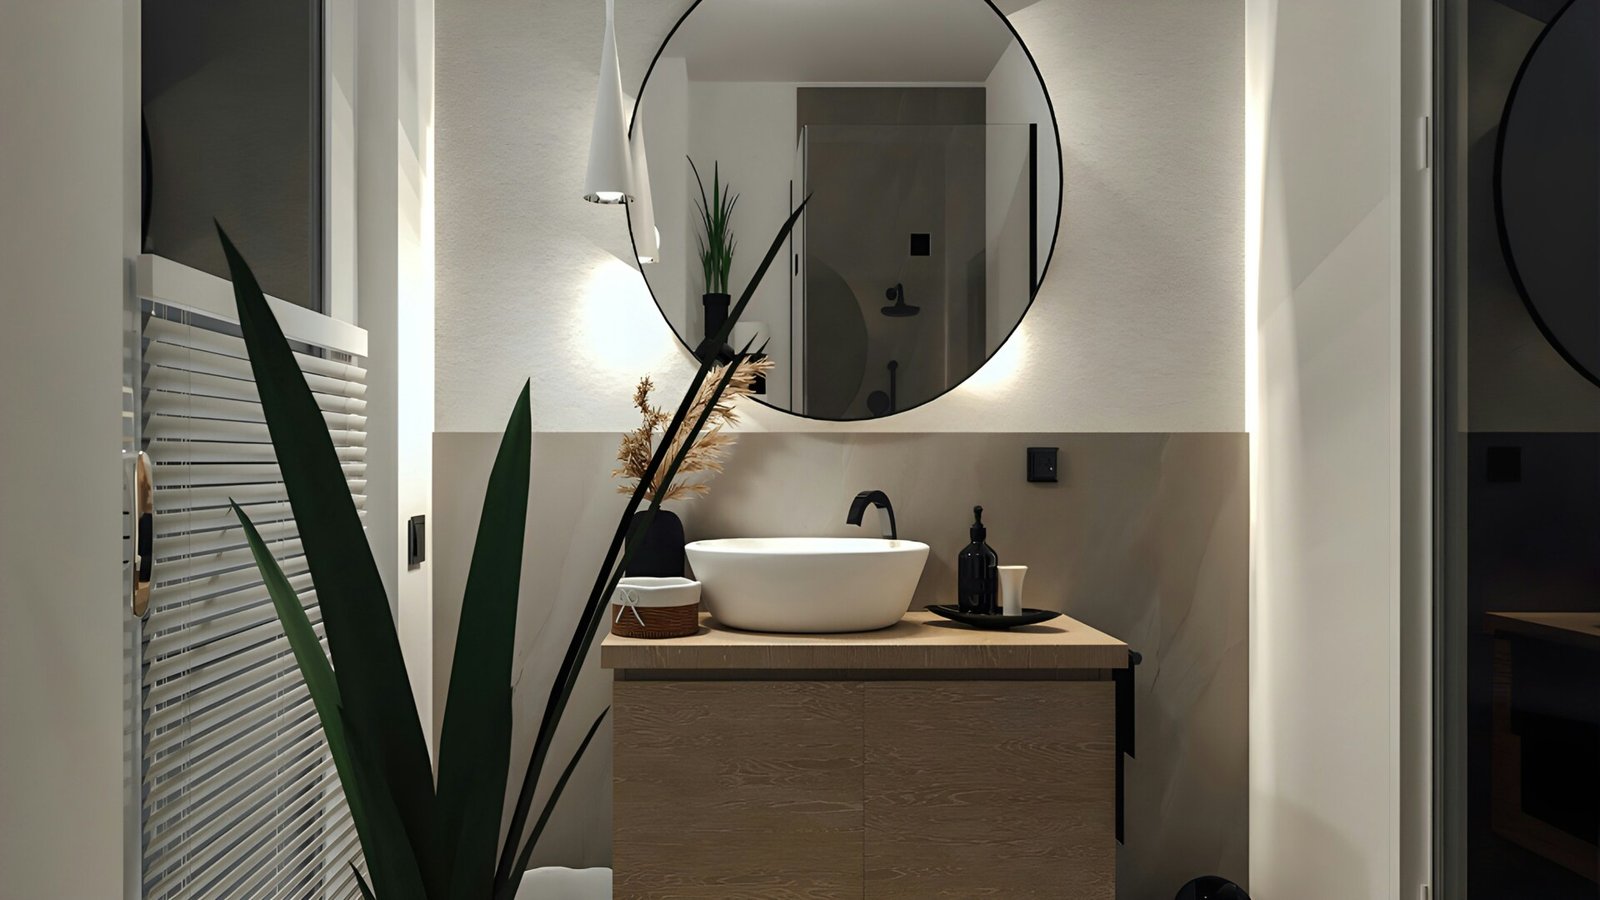
Why Paint Instead of Replace a Bathroom Vanity
Replacing a bathroom vanity can be expensive (plumbing cost), disruptive, and unnecessary when the existing cabinet structure is still sound. Painting offers a practical alternative that delivers visible results at a fraction of the cost.
Cost and Value Considerations
Painting a bathroom vanity typically costs far less than replacement, even when premium paints and primers are used. The savings not only come from materials but also from avoiding plumbing disconnections, countertop removal, and installation labor. For homeowners planning just a refresh rather than a full remodel, painting provides strong visual impact with controlled spending.
Design Flexibility and Finish Options
Painting also allows greater control over color and sheen. Cabinets can be updated to match new wall colors, tile, or flooring, or used as a focal point with deeper, moodier tones. Modern modern cabinet paints are available in matte, satin, semi-gloss, and gloss finishes, making it easier to balance style with durability.
Choosing the Right Paint for Bathroom Cabinets
Bathrooms present a challenging environment due to humidity, temperature changes, and frequent cleaning. Paint selection plays an important role in how long the finish lasts.
Best Paint Types for Moisture-Prone Spaces
The most reliable options for bathroom vanity cabinets are waterborne alkyd paints, urethane-modified enamels, and high-quality acrylic enamel paints. These formulas level well, dry to a hard finish, and resist moisture better than standard latex wall paint. Waterborne alkyds, in particular, combine the durability of oil-based paint with easier cleanup and lower odor.
Recommended Sheens for Durability and Washability
Higher-sheen finishes perform better in bathrooms. Satin and semi-gloss are the most common choices because they resist moisture, wipe clean easily, and show fewer water marks over time. Matte finishes can be used, but they are less forgiving and may require more frequent touch-ups.
Selecting the Right Primer
Skipping primer is a common mistake and often leads to peeling, chipping, or uneven coverage.
When a Bonding or Shellac Primer Is Necessary
Bonding primers are recommended for most bathroom vanities, especially when painting over sealed wood, laminate, or previously painted surfaces. Shellac-based or oil-based primers are useful when strong stain blocking or maximum adhesion is required, such as when transitioning from dark to light colors.
Primer Compatibility With Cabinet Materials
Primer choice should match both the cabinet material and the paint being used. Many modern bonding primers are compatible with both water-based and oil-modified paints, which provides flexibility and reduces the risk of adhesion failure.
Tools and Supplies You’ll Need
Proper tools make the process more efficient, less time consuming, and improve the final finish.
Essential Painting Tools
Core tools include angled sash brushes ranging from 1.5 to 2.5 inches, a small roller with a 4-inch cover, a paint tray, painter’s tape, and a screwdriver. A sanding block or orbital sander helps maintain even pressure during surface prep.
Surface Preparation Materials
Surface prep requires medium-grit sandpaper between 120 and 150 grit, fine-grit sandpaper around 220 grit, microfiber cloths, a vacuum, drop cloths, and a degreasing cleaner such as sugar soap or TSP. These materials ensure paint adheres properly and dries smoothly.
Preparing Bathroom Vanity Cabinets for Painting
Preparation is where most of the work happens and where most long-term problems are either prevented or created.
Removing Doors, Drawers, and Hardware
Doors, drawers, and adjustable shelves should be removed and painted separately. Hardware, hinges, and screws should be stored in labeled bags to simplify reassembly. Labeling the back of each door ensures correct placement when it’s time to assemble everything.
Cleaning and Degreasing the Surface
Cabinet surfaces must be cleaned thoroughly to remove residue from soap, cosmetics, dust particles, and skin oils. Degreasers should be rinsed with clean water to prevent contamination, and all surfaces must dry completely before sanding.
Sanding for Proper Paint Adhesion
Finished cabinets require sanding to dull the surface and remove any clear coat. Medium-grit sandpaper is used first to remove the old surface and create grip, followed by fine-grit sanding for smoothness. Sanding should always follow the wood grain. Unfinished cabinets generally require only light sanding.
Protecting Surrounding Areas
Paint protection is often overlooked but saves significant cleanup time. Painter’s tape should be applied along countertops, adjacent walls, cabinet edges, and the underside of the vanity top to prevent bathroom vanity problems like permanent staining or finish damage. Drop cloths protect floors from dust and paint splatter, especially during sanding and rolling.
Priming Bathroom Vanity Cabinets
Application Methods for Smooth Coverage
Primer should be applied with a brush for edges and detailed areas, then rolled onto flat surfaces for even coverage. Doors and drawers should be laid flat to reduce drips and sagging. When covering dark finishes, you might need two primer coats.
Drying and Light Sanding Between Coats
Once dry, the primer should be lightly sanded with 220-grit sandpaper to remove brush marks and improve paint leveling. All dust must be removed before moving to paint.
Painting Bathroom Vanity Cabinets
Brush vs Roller vs Sprayer
Brushes offer precision for edges and profiles, rollers create smooth finishes on flat panels, and sprayers deliver the most uniform results when available. Many projects use a combination of brush and roller for efficiency and control.
Applying Even Coats and Avoiding Drips
Paint should be applied in thin, even coats using smooth strokes in the direction of the grain. Excess pressure leads to brush marks and uneven texture. Two coats are typically required, with a light sanding between coats if needed.
Number of Coats Required for Full Coverage
Most cabinet paints achieve full coverage in two coats. A third coat may be required for drastic color changes or high-traffic vanities. Each coat must dry according to manufacturer instructions before recoating.
Dry Time and Cure Time Explained
Dry time and cure time are often confused, but they are not interchangeable.
Recoat Timing
Paint may feel dry to the touch within one to four hours, depending on the product. Recoating too soon can cause dragging, uneven sheen, or adhesion issues.
When Cabinets Are Safe for Daily Use
Full cure time can range from several days to up to two weeks. Cabinets should not be heavily cleaned or exposed to moisture until curing is complete. If you need faster turnaround, choose paints designed for cabinetry with shorter cure cycles.
Reinstalling Hardware and Doors
Reassembly should only begin once the paint has fully cured. Before reinstalling doors and hardware, inspect all surfaces for missed spots, drips, or uneven areas. Hinges and handles can be cleaned or spray-painted separately if desired. Doors and drawers should return to their original positions for proper alignment.
Achieving a Long-Lasting, Professional Finish
Common Mistakes to Avoid
It’s often assumed that thicker paint coats provide better coverage. In reality, thin coats last longer and look smoother. Skipping primer, rushing dry times, or using wall paint on cabinets are common causes of early failure.
Maintenance Tips for Painted Bathroom Cabinets
Painted cabinets should be cleaned with mild soap and water, not abrasive cleaners. Proper ventilation helps reduce moisture buildup, extending the life of the finish. With the right prep and products, a painted bathroom vanity can remain durable and attractive for years. However, when choosing your setup, you should weigh the pros and cons of floating vanity unit designs to ensure they fit your maintenance style.